Paper flowers add color and charm to a home without the cost of fresh bouquets, and they never wilt. With a few basic supplies and an afternoon, you can make blooms that match your style and your space.
This guide covers the right paper and tools, the core cutting, folding and gluing skills, simple flower designs for beginners, and creative styles to try next. You will also find ideas for displaying your flowers and tips to keep them looking fresh for years.
Materials You Need
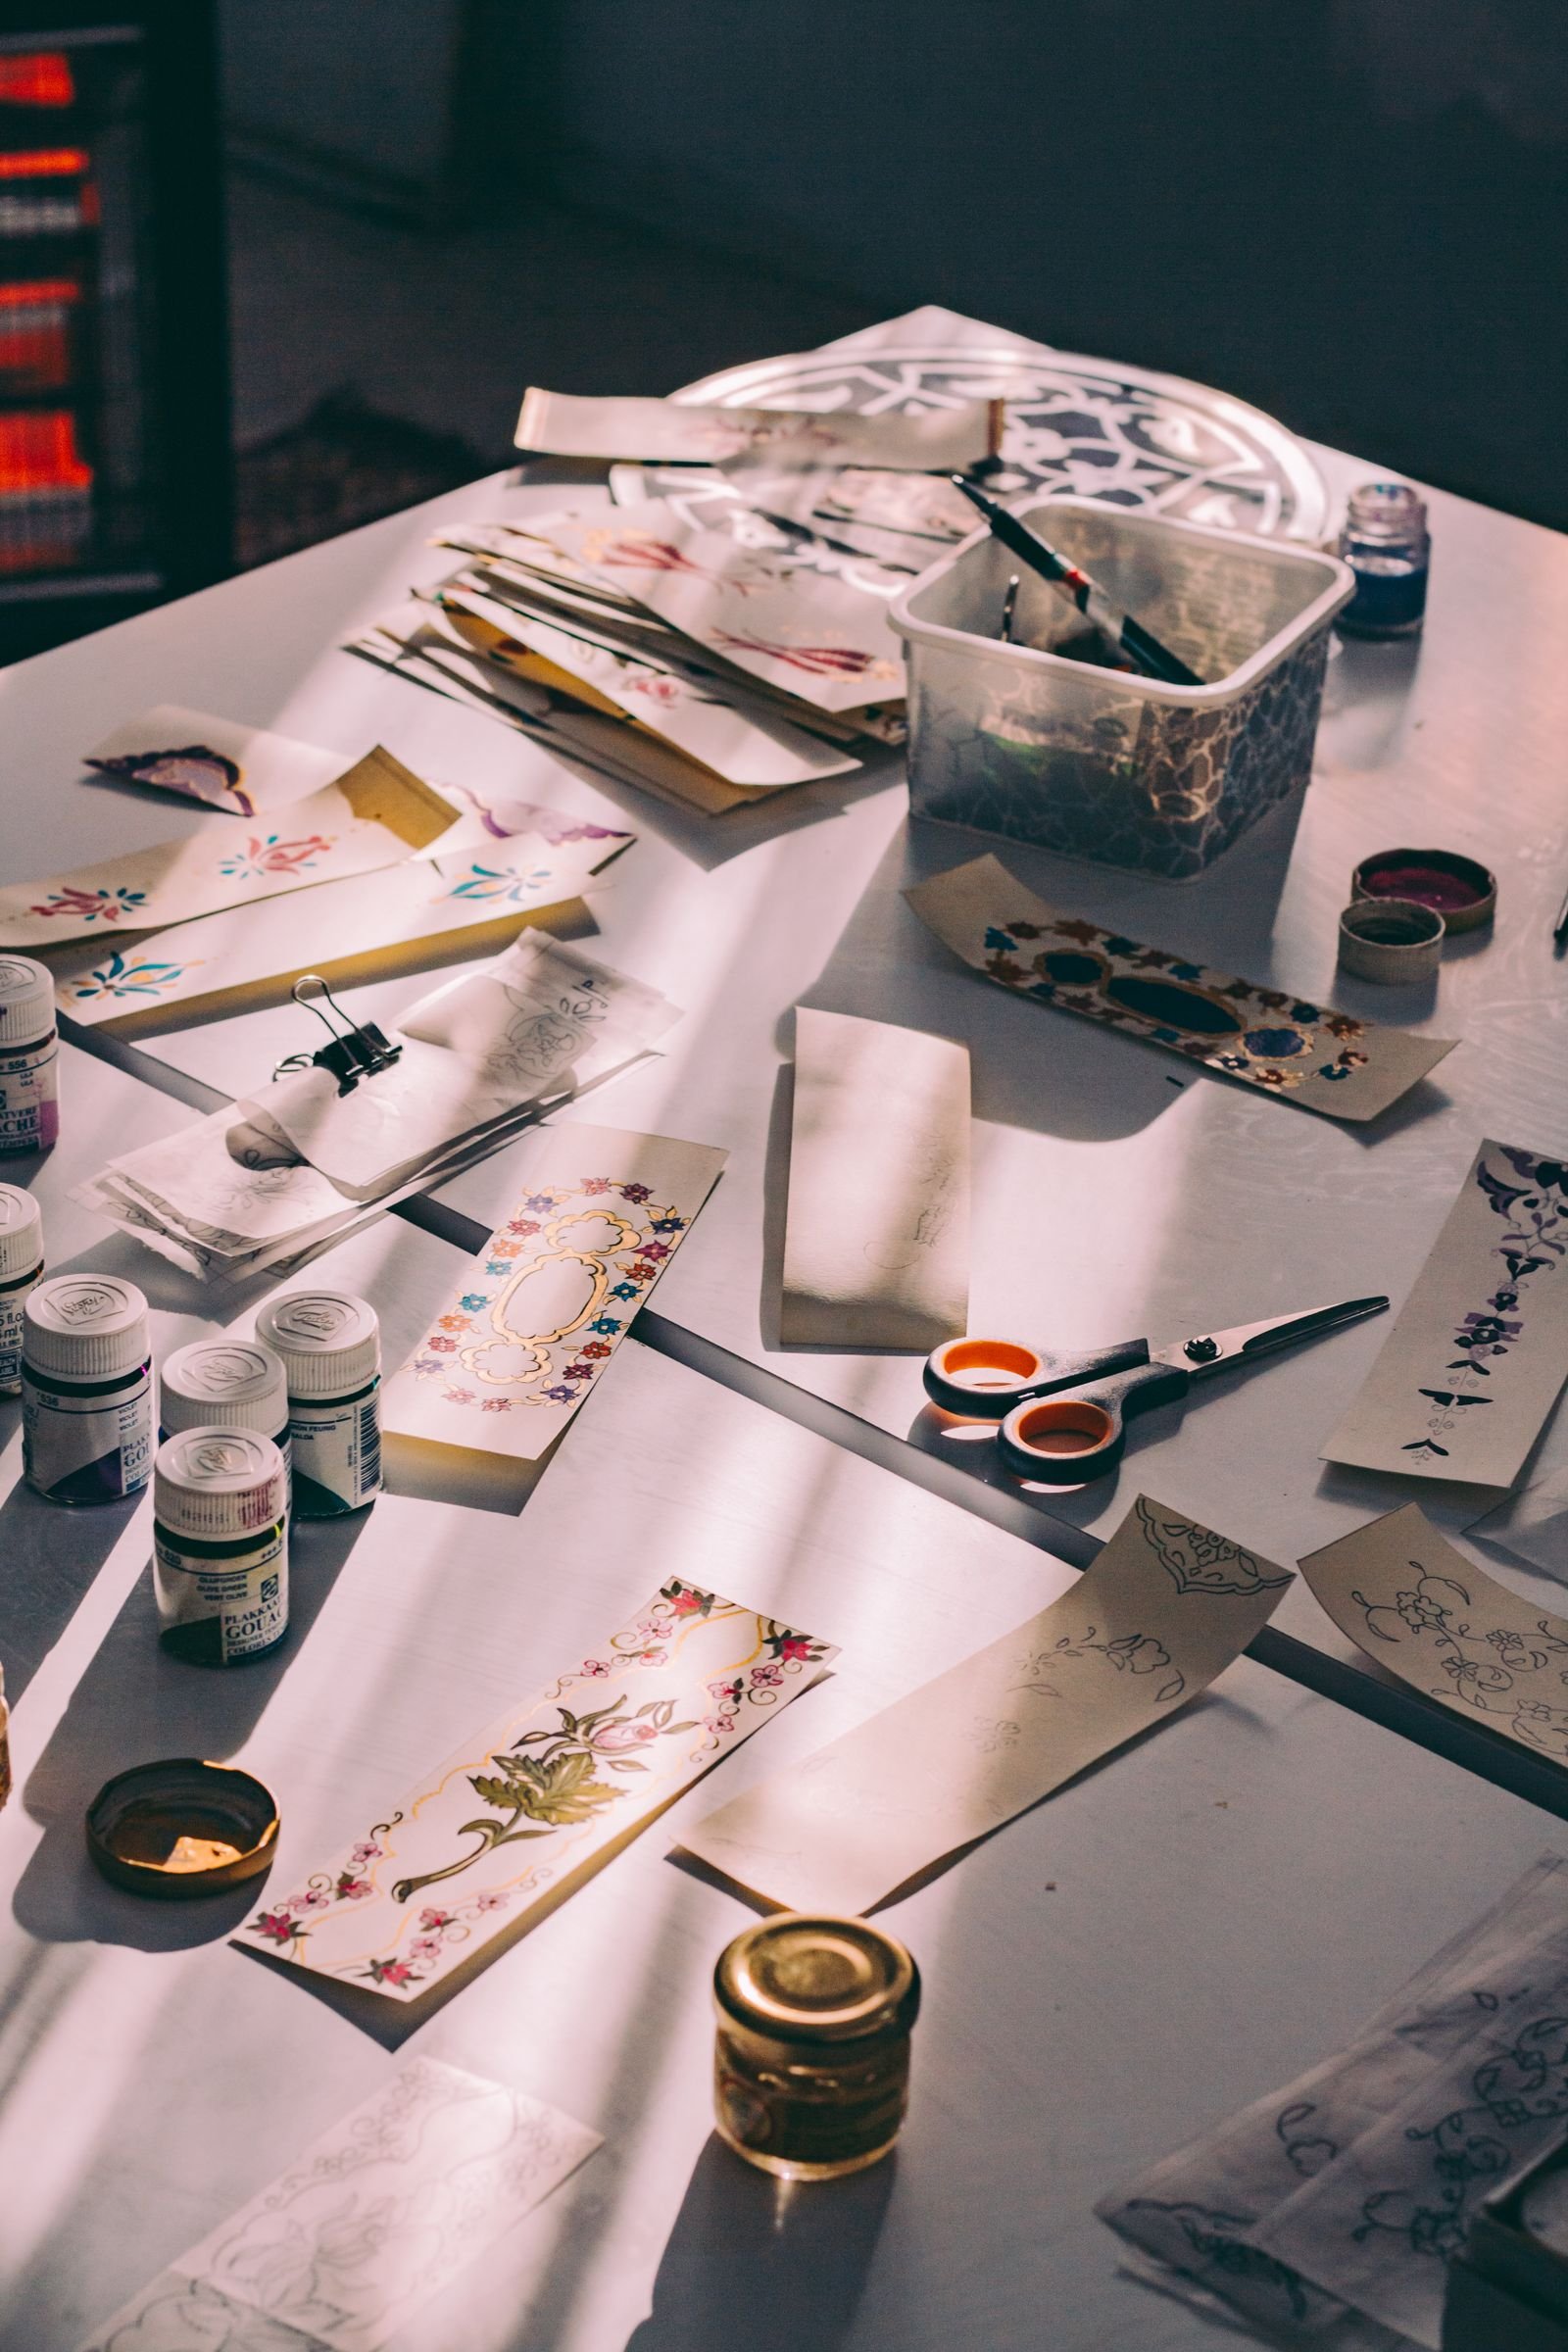
The right materials make paper flowers much easier to shape. Most of them are cheap, and you may already own many of them.
Types of Paper
Crepe paper is stretchy and ideal for realistic petals that curl and ruffle. Colored craft paper suits bright, bold flowers. Tissue paper is light and soft, which makes it perfect for delicate blooms such as peonies. Cardstock is thicker and gives sturdy flowers that hold their shape. If you are unsure, start with a mix of crepe and cardstock and see which one feels better in your hands.
Basic Tools
Sharp scissors give clean, precise petal edges. A pencil and a ruler help you draw and measure shapes evenly. Use a glue stick for flat joins and liquid craft glue or a low-heat glue gun for stems and centers. Floral wire or pipe cleaners make easy stems, and green floral tape hides the wire neatly.
Optional Decorative Items
Small extras add personality. Glitter gives sparkle, while markers or watercolor paint add shading to the edges of petals. Beads or buttons make charming flower centers. Ribbon can wrap around a stem to finish the look, and leaves cut from green paper make the flower feel more natural.
Basic Paper Flower Techniques
A few simple skills are behind almost every paper flower. Practice them on scrap paper first, and your finished flowers will look much better.
Cutting Shapes
Choose thin paper for petals. Cut circles, ovals and teardrops, because each shape forms a different type of petal. Cut slowly to keep the edges smooth. To save time, stack several sheets and cut them together so the petals come out the same size. Draw a template on thin card once and reuse it for every flower in the set.
Folding and Curling
Folding adds depth and texture. Fold a petal in half or crease it at the base to create a natural curve. To curl an edge, wrap it around a pencil or a skewer and release it. Roll the edges outward for a soft, open look or inward for a closed bud. Small changes in curl make a big difference in how real the flower looks.
Gluing and Assembling
Use glue sparingly, because too much wrinkles the paper and makes a mess. Add one small dot to each petal and attach the petals one by one around the center, working outward. Overlap them slightly for fullness. Hold each petal for a few seconds until the glue sets, and use a toothpick or tweezers for tiny pieces. Finish with a paper leaf or a wrapped stem.
Simple Flower Designs for Beginners
Simple designs need few materials and little time, so they are a good place to learn. They still look elegant when you pick a nice color combination.
Single Petal Flowers
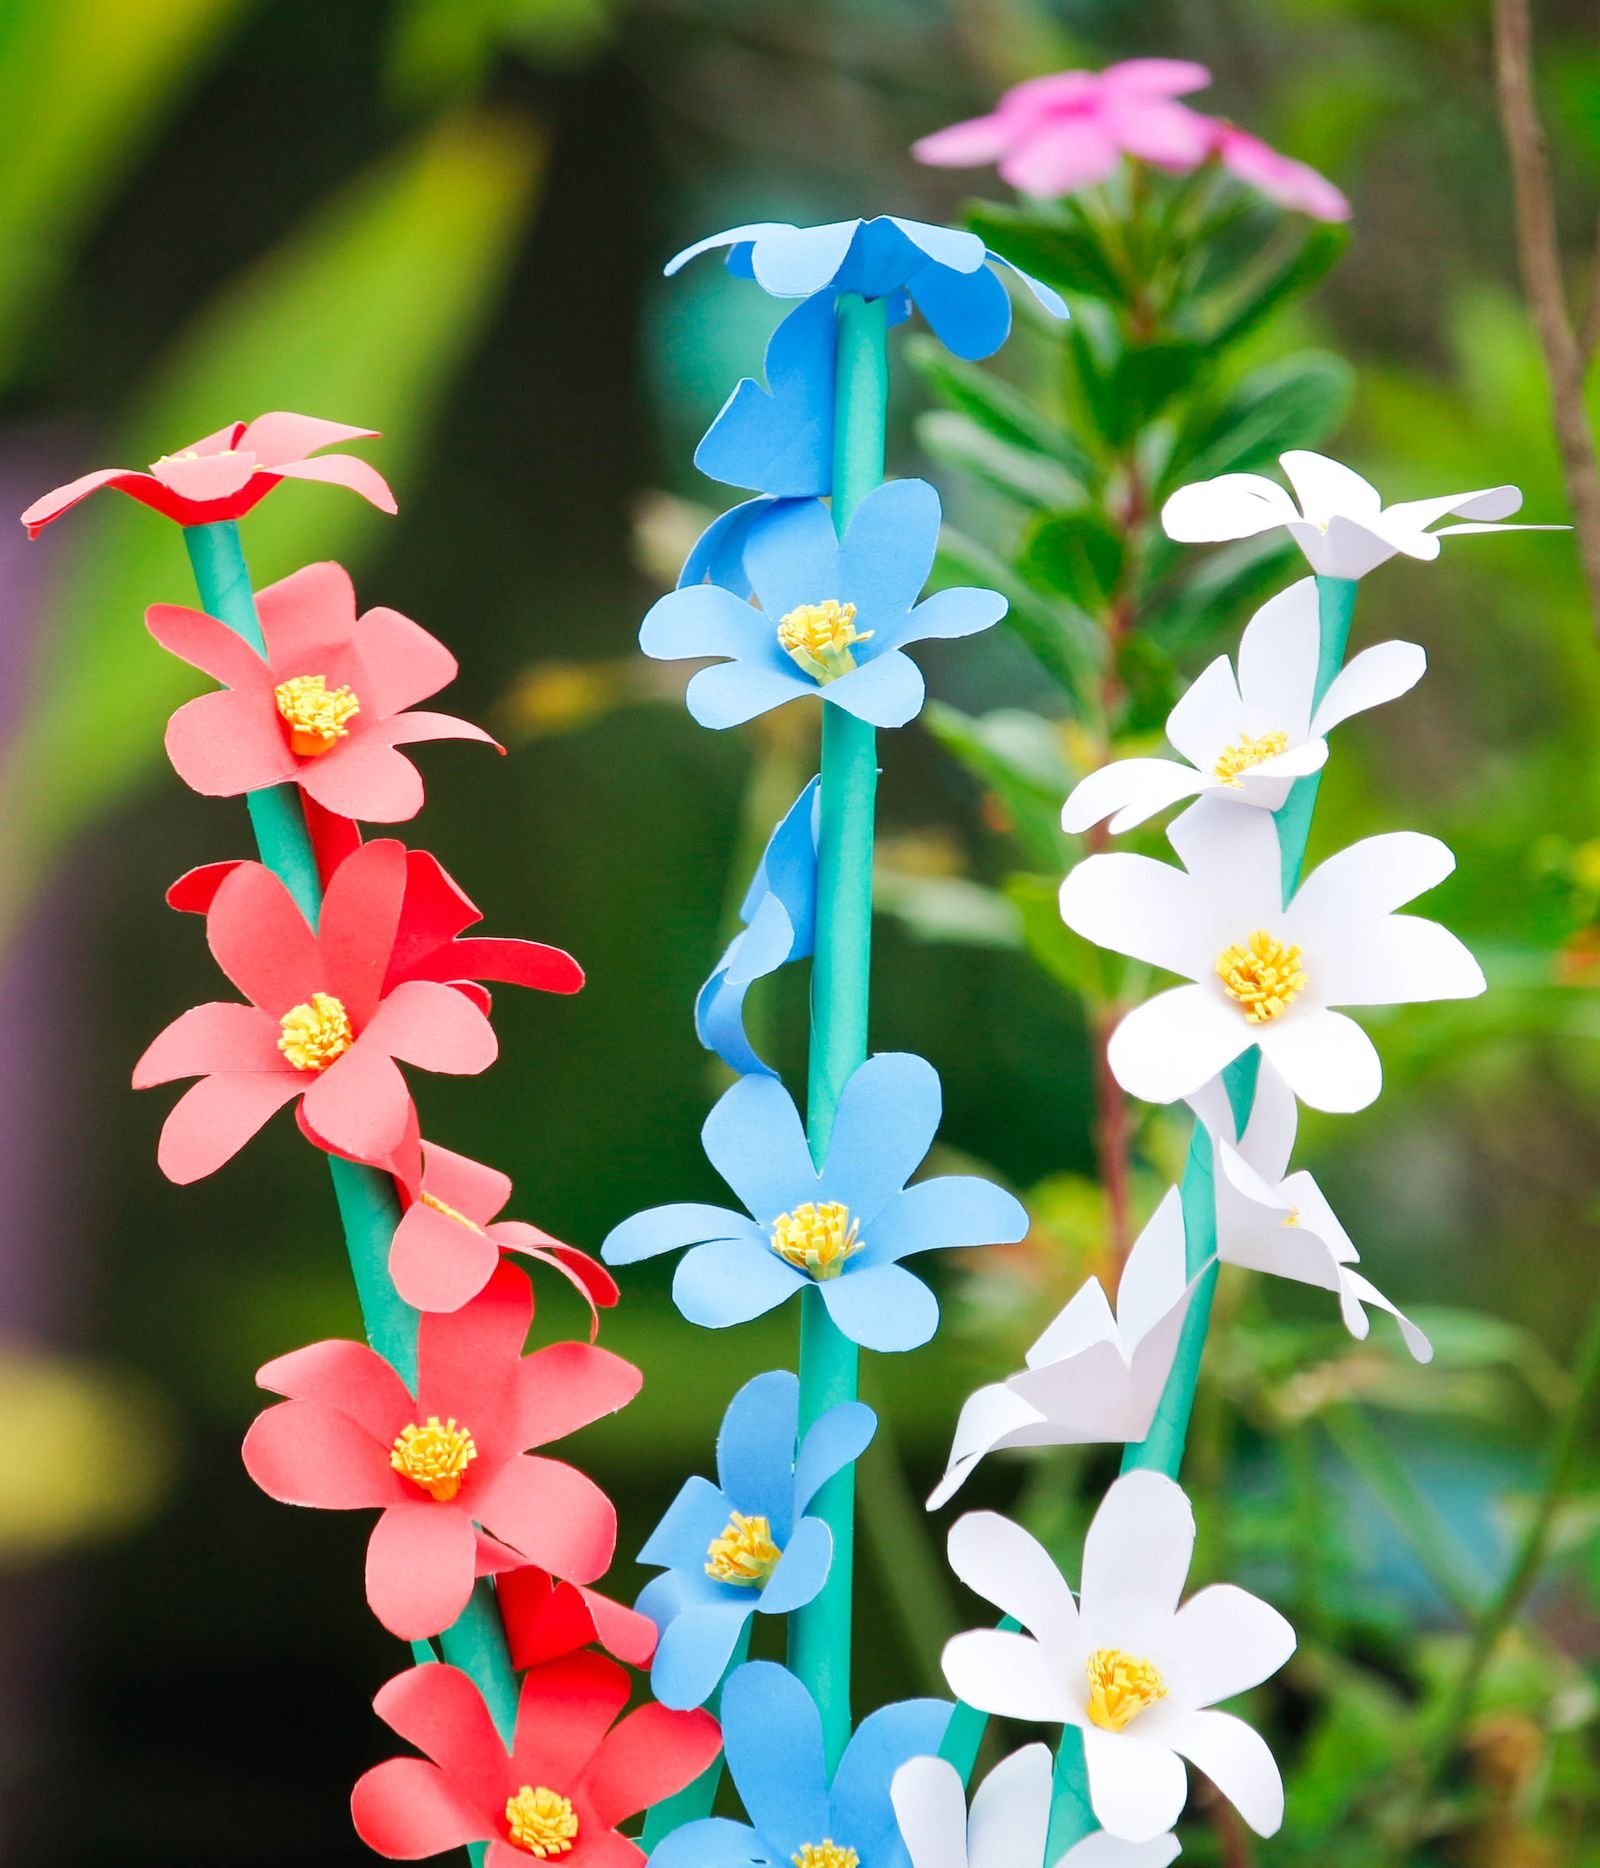
Cut five to eight petals of the same shape from colored paper. Glue them side by side in a circle, then cover the middle with a small paper circle or a button. This is the fastest flower to make and a good first project.
Layered Petal Flowers
Cut petals in three sizes. Glue the largest ring first, then add a medium ring on top, and finish with the smallest ring in the center. Rotate each layer slightly so the petals sit between those below. Soft colors in the same family give the most natural result.
Rolled Paper Roses
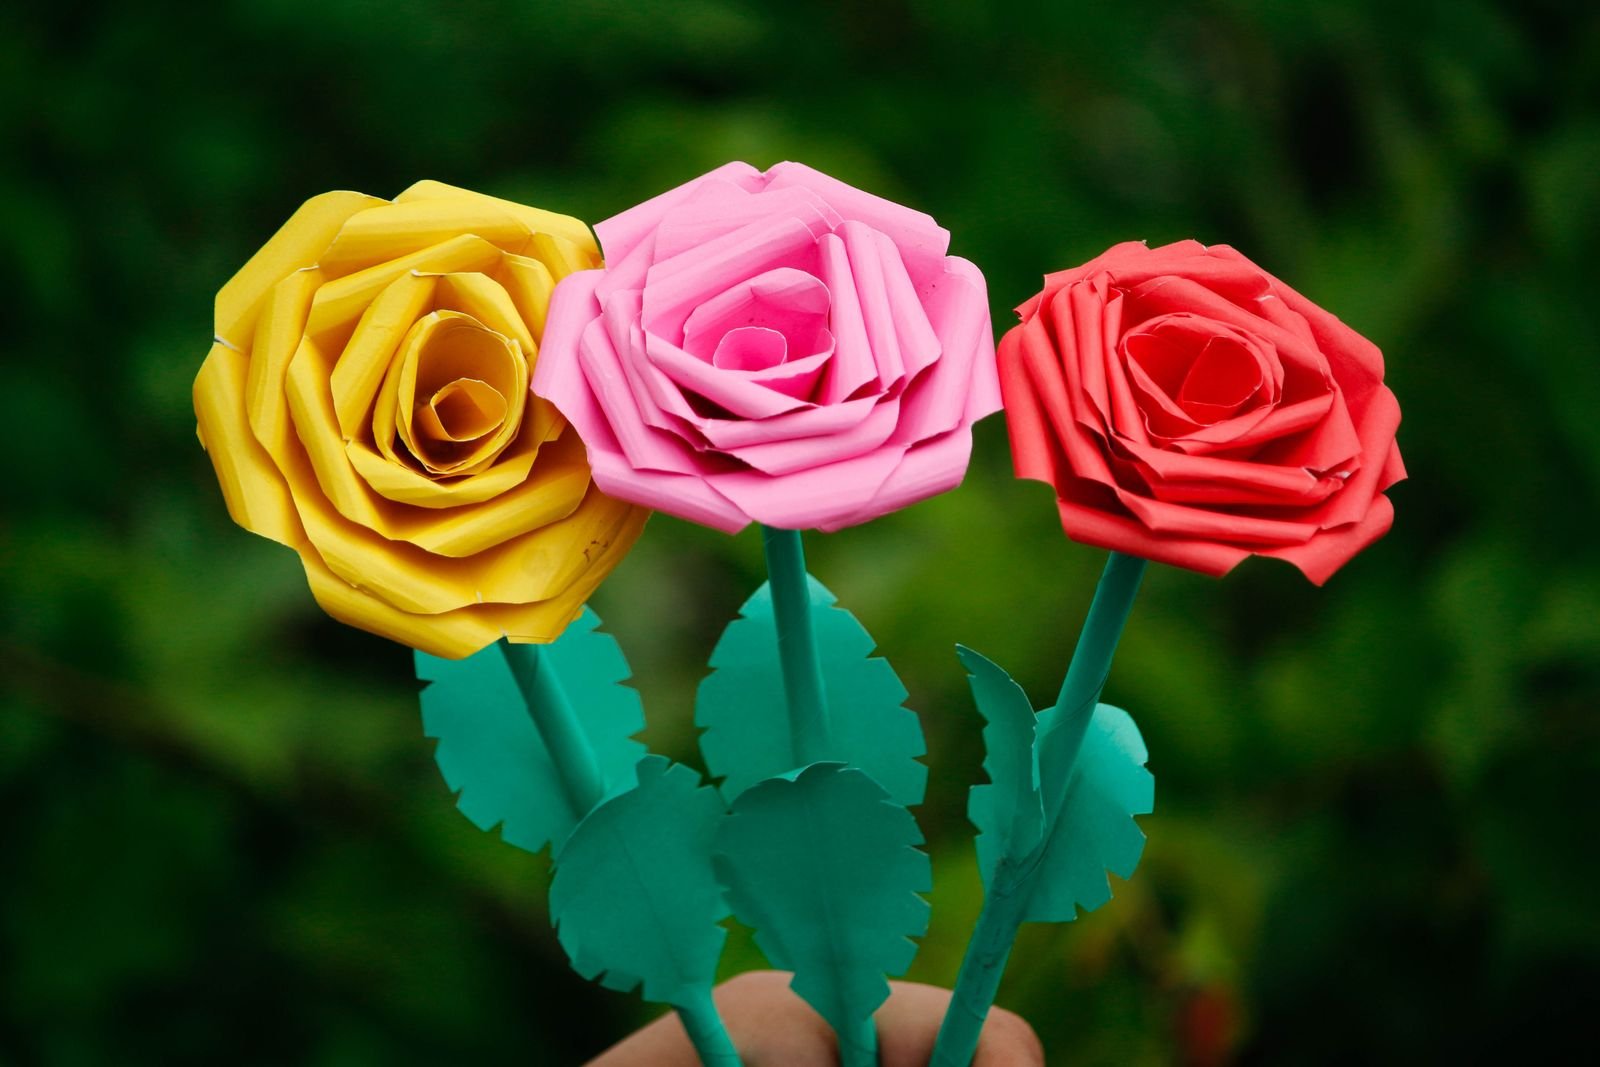
Cut a spiral from a circle of paper, starting at the outer edge and working toward the center. Roll the spiral tightly from the outside end, then let it loosen slightly and glue the base to hold the shape. Turn the finished rose over and attach it to a wire stem.
Creative Flower Ideas
Once you are comfortable with the basics, try a different style. Each one gives your home a distinct look. If you enjoy making things by hand, our guide to easy DIY home decor items for beginners has more projects to try.
Origami-Inspired Flowers
Origami flowers are folded from square sheets, and the basic shapes need no glue or scissors. They have sharp, clean lines that suit modern rooms. Try tulips, lilies or simple roses, and follow a step-by-step fold guide for your first one.
Tissue Paper Blooms
Stack six to eight sheets of tissue paper, fold them like a fan, tie the center with wire and gently pull each layer apart. The result looks like a peony or a carnation. Tissue blooms are soft, colorful and easy to customize, but they are fragile, so keep them away from drafts.
Quilled Flower Patterns
Quilling uses thin strips of paper rolled into coils and scrolls. Arrange the coils into petals and leaves to make detailed designs. Quilled flowers work best in frames, shadow boxes and greeting cards, where small details can be seen up close.
Arranging Paper Flowers for Decoration
How you display paper flowers matters as much as how you make them. A good arrangement brings color into a room without the upkeep of fresh blooms. Fresh flowers have their own benefits too, which we cover in our article on the importance of flowers in home decoration.
Bouquets and Bunches
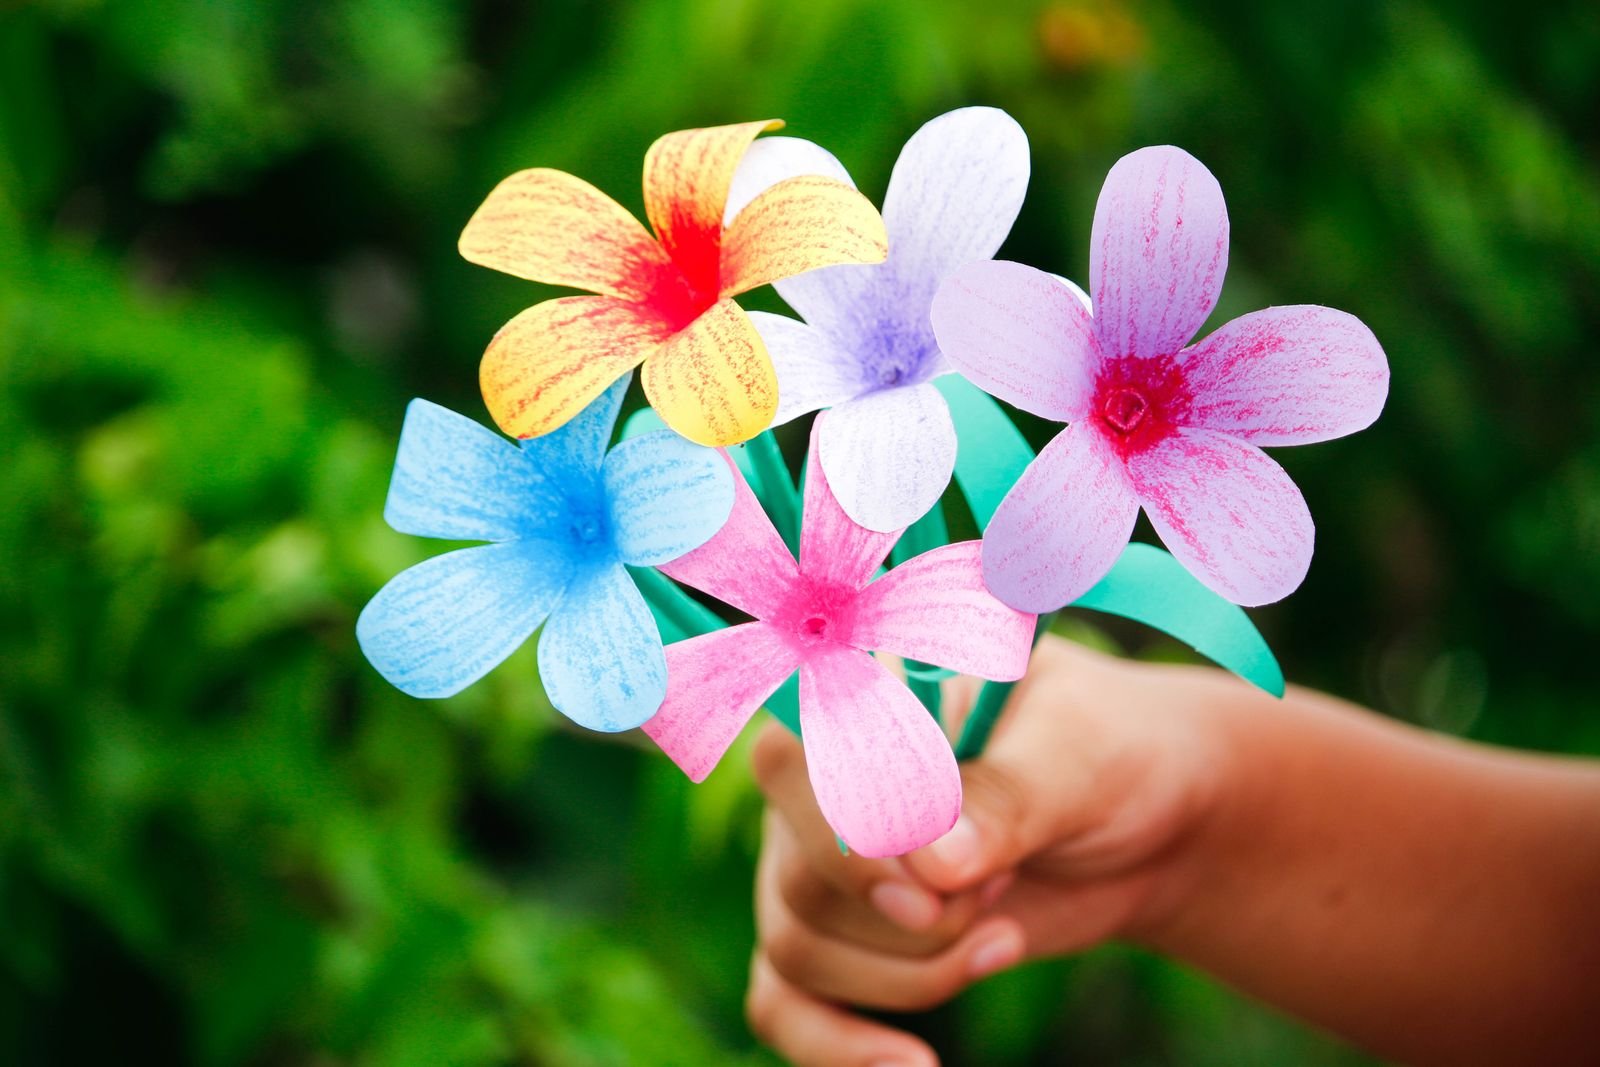
Gather several flowers into a small bouquet and tie the stems with ribbon or twine. Mix two or three shapes and colors, and vary the stem heights so the bunch looks natural. Place bouquets on a shelf, a bedside table or a windowsill.
Wall Art Displays
Glue or pin flowers to a canvas, a wooden board or a large embroidery hoop. Arrange them in a tight cluster or in a loose pattern across the surface. This adds texture to a plain wall, and bright colors make an instant focal point above a sofa or a desk.
Centerpieces and Vases
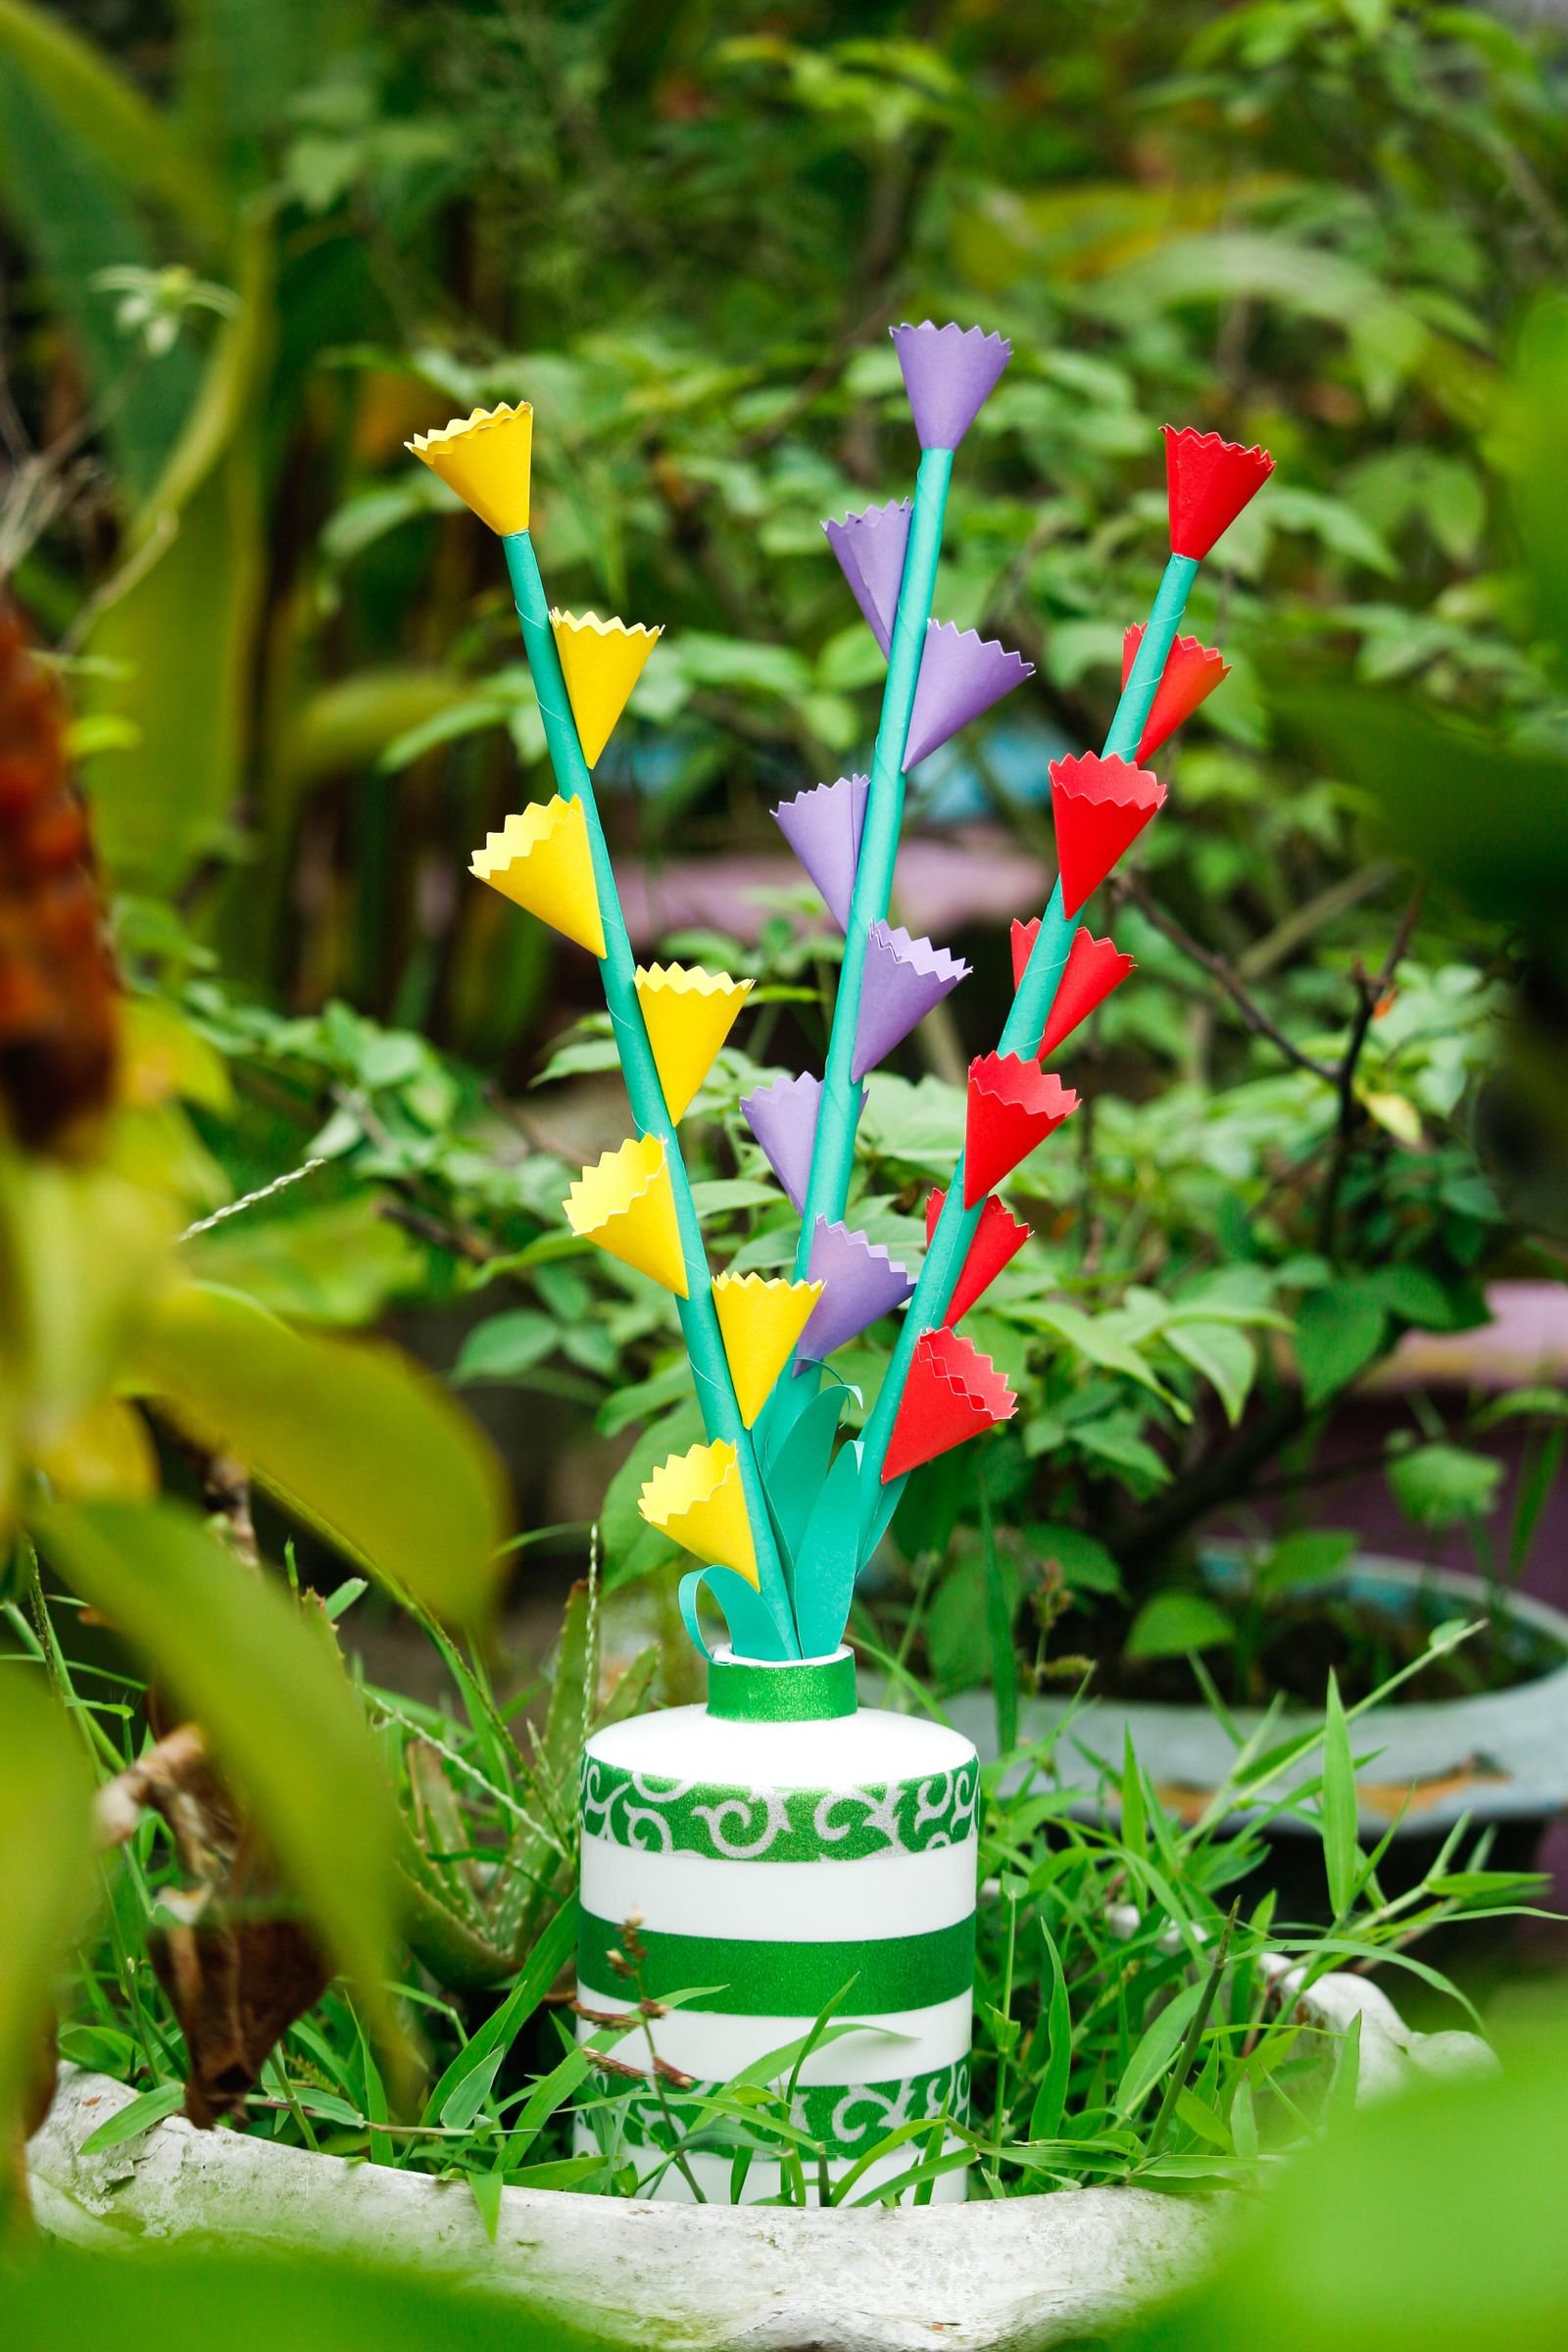
Place flowers in a clear glass or ceramic vase for a simple table centerpiece. Use a vase that matches your decor style, and arrange the flowers at different heights. Paper blooms stay fresh-looking with no water or sunlight, so they work well on a dining table or a coffee table. For more ideas to try, see our list of paper crafts for home decoration.
Tips for Lasting Paper Flowers
Paper flowers can last for years if you treat them well. These habits protect your work.
Choose Durable Paper
Thick paper such as cardstock or heavy crepe makes stronger flowers. Thin paper tears easily and fades faster. Pick colors that resist fading, and avoid glossy paper, which can crack along the folds.
Add a Protective Coating
Spray finished flowers with a clear matte or satin sealant. The coating guards against dust and light moisture. Apply thin layers and let each one dry fully before adding the next. Always spray outdoors or in a well-ventilated room.
Store and Clean Them Carefully
Keep paper flowers out of direct sunlight, away from damp rooms such as bathrooms. When you are not using them, store them in a dry box with tissue paper between the layers. Dust them gently with a soft brush or a hair dryer on a cool, low setting.
Common Mistakes to Avoid
- Using too much glue, which warps the paper and leaves visible marks.
- Cutting petals freehand, which makes the flowers uneven. Use a template instead.
- Choosing paper that is too thick for tight curls, or too thin for sturdy stems.
- Placing finished flowers near a heater, a stove or a bright window, where paper dries out and fades.
Frequently Asked Questions
What Materials Do I Need to Make Paper Flowers?
You need colored paper, scissors, glue and floral wire or pipe cleaners for stems. A pencil and a ruler help you draw and measure petals, and you can add beads or buttons for the centers.
How Long Does It Take to Make Paper Flowers?
Most simple flowers take 15 to 30 minutes. Layered or quilled designs take longer, and your speed will increase with practice.
Can I Use Recycled Paper for Paper Flowers?
Yes. Old book pages, wrapping paper, magazines and maps all work well. Recycled paper is eco-friendly and adds a vintage texture to your designs.
How Do I Make Paper Flowers Last Longer?
Use sturdy paper, seal the flowers with a clear spray and keep them away from water and direct sunlight. Store them in a dry, cool place.
What Are the Easiest Paper Flowers for Beginners?
Single petal flowers, simple daisies and rolled roses are the easiest. They use basic cuts and folds, and you can finish one in a short time.
Conclusion
Making paper flowers is a simple, relaxing way to decorate your home. You need only a few materials and a little time, and the flowers brighten any room without water or sunlight. Try different colors and shapes to match your style, and keep practicing so your skills improve quickly.